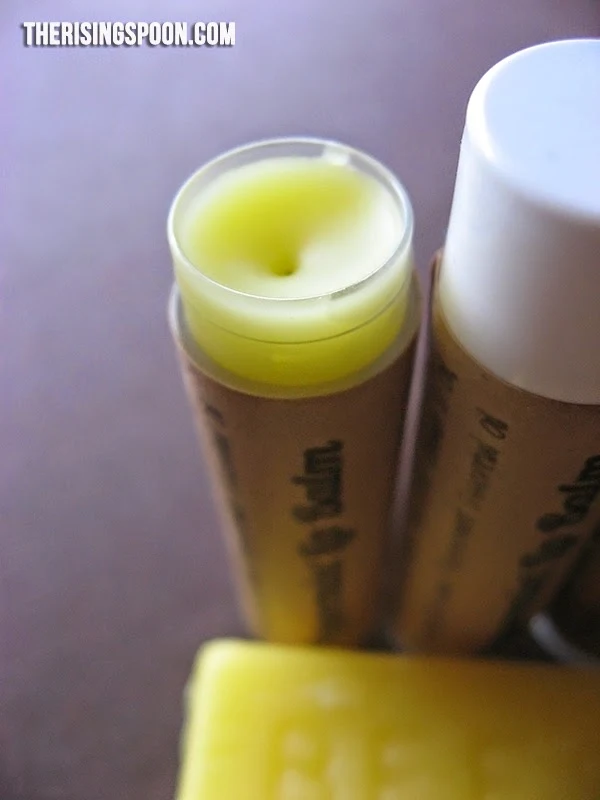
After my first adventure making homemade lip balm with coconut oil, I decided to experiment until I achieved a medium-firm lip balm. Something that still felt smooth going on, but was firm enough that I didn't have to apply it as often.
My initial thought was to simply increase the beeswax in the lip balm recipe, but I decided to try a different oil this time around, so I could see how it affected the overall smell.
In my first lip balm recipe, the primary ingredient was coconut oil, which made it super glossy, but also smell like coconut. I don't have a problem with this (and think it pairs nicely with peppermint essential oil), but I know some folks dislike coconut products or are allergic to them.
So, I decided to give extra virgin olive oil a go. It was sitting on the kitchen counter at the time, so why not?
It turned out great!
To give it the ultimate test, I gave a tube of each recipe to my younger sister for her to try.
Hellooooo, that's what sisters are for!
Her verdict? They were both wonderful, in different ways. In other words, sister approved.
Are you going to run out and get some beeswax so you can make this? Please, do. It's so simple.
P.S. If you want a more detailed explanation of why I use certain ingredients in this recipe, check out my first homemade lip balm post.
Lip balm is more fun to wear when it smells delicious! Don't you agree? However, I only add therapeutic-grade essential oils to my lip balms and other recipes because they are safe for topical use.
If you use essential oils in DIY recipes, please make sure to carefully read the label first. If it has a warning that says, "not for topical use" or "for aromatherapy only" DO NOT put it on your skin!
Better safe than sorry.
If you're not sure, just leave the essential oil(s) out and use coconut oil and cocoa butter, which both have naturally pleasant scents.
Homemade Medium-Firm Lip Balm with Olive Oil
Homemade lip balm made with extra virgin olive oil, beeswax, cocoa butter, vitamin E oil, local honey, and 100% pure therapeutic-grade peppermint essential oil. This is an inexpensive DIY project you can make at home in about 15 minutes, and they make great gifts for guys and gals!
Ingredients
3 tablespoons of extra virgin olive oil (I used this)
3 tablespoons of beeswax (I used this)
1 tablespoon of cocoa butter or shea butter (I used this)
1/2 tsp of vitamin E oil (or about 6 capsules) (I used this)
1 tsp of honey (optional)
15 drops of peppermint essential oil (optional)
Recommended Equipment
empty lip balm tubes (I used these tubes)
turkey baster, clean medicine dropper or disposable transfer pipette (I used these)
small sauce pan
glass measuring cup, large ceramic cup or large mixing bowl (glass or metal)
grater (for the beeswax) (this is my favorite!)
Optional: square stick-on labels (I used these avery labels)
Want more real food & gadget recommendations? Check out my shop page
Directions
First, create a makeshift double boiler by filling a small saucepan 1/2 way with water and turn the heat to low or medium-low. Once the water is hot (barely a simmer), sit a larger sized bowl on top of the saucepan to melt the lip balm ingredients in, or a large ceramic cup or glass measuring cup directly into the water. If you're putting it directly in the water, take care to use an oven mitt when handling it.
While the water is warming up, carefully set all the empty lip balm tubes in an area close by and make sure the lids are removed. Once the mixture is melted you have to fill the containers quickly before it re-solidifies.
Using a grater, shred 3 tablespoons worth of beeswax. If you're using the beeswax pastilles, you can skip this step. Place the beeswax into whatever container you're going to use to melt the mixture (measuring cup, mixing bowl, etc.), then measure in the olive oil and cocoa or shea butter.
Place the container either over or directly in the water on low heat and wait for it to gently melt. Once it's completely melted (no beeswax solids remaining), turn off the heat and set the pan aside. Quickly add the vitamin E oil, honey, and essential oil (a little goes a long way), then give it one last stir.
Using the transfer pipette or another pouring tool carefully fill all the empty lip balm tubes with the mixture. If the mixture starts solidifying in the container, simply reheat it on low until it returns to liquid.
When all the lip balm tubes are filled and the mixture used up, I recommend placing all the dishes/utensils you used in some hot water in the sink so that the beeswax doesn't solidify on them. It'll be easier to clean that way.
Set the lip balm tubes aside and let them cool for 2-3 hours. Cap and use within a few months.
Notes
- If you're not a big fan of peppermint, give lavender essential oil a try.
- Citrus essential oils are also popular for lip balms (lemon, orange, lime, grapefruit, etc.); however, they can increase photosensitivity (make it easier for your skin to burn in the sun), so be cautious of using them in your beauty products during the summer, or if you live in a sunny area.
I'd like to hear from YOU!
What's your favorite lip balm? Would you ever consider making it at home for less?

.jpg)


No comments
Post a Comment
Note: Only a member of this blog may post a comment.