Homemade Almond Milk: So Worth the (Little) Extra Effort
Time to put another big check mark on my learn how to make this at home to-do list. Yes, it really exists. The list is tacked up on a wall above my computer monitor. The more I learn about cooking and real foods, the longer it grows. But I'm okay with that. With every recipe I tackle, that's one less thing I can make at home instead of relying on an oftentimes more processed version at the grocery store.
Because let's face it--the bulk of food products sold in grocery stores are filled with all kinds of additives, syrups, preservatives and chemicals. Super processed junk that I (and most other folks) prefer not to consume. Even so-called "healthy" foods and drinks often have unnecessary ingredients lurking in them.
That's why you need to transform yourself into a voracious label reader. Plan extra time for grocery outings and scan EVERY label before purchasing. If you don't know what an ingredient is, look it up on your phone or take a picture of it and do the research later.
Want more tips on seeking out the best quality foods? Check out my post: Five Tips For Transitioning to a Real Foods Lifestyle.
Eventually (through trial and error) you'll learn which brands are worth purchasing and which to avoid. But in the process, you'll be surprised at how much extra "stuff" is in everything you consume.
I felt pretty jaded when I realized how much junk was in many of the commercial foods at the grocery store. It's one of the many reasons I don't consume non-fat dairy products anymore, especially skim milk. The process of removing the fat from the milk strips it of vitamins, so they have to add synthetic ones back in. Like Vitamin A Palmitate.
Personally, I lean toward absorbing nutrients naturally through foods. If you can't get vitamins from a specific whole food source, then look for other foods that contain it or seek out high-quality whole foods supplements from a company or manufacturer that is transparent about the ingredients and process.
Why You Should Make Non-Dairy Milks At Home
One of the biggest arguments dairy-free milk drinkers make for purchasing store-bought milk instead of making it at home is the added vitamins. They see it as a simple and necessary way to prevent vitamin deficiency. Here's the thing...most (not all) dairy-free milk at the store has additives, preservatives and "natural flavors" in them. Just check the labels. Ingredients like carrageenan, tapioca starch, sunflower or soy lecithin (highly processed), etc. do not belong in dairy-free milk.
That's why I make nut milk at home now. I currently buy canned coconut milk (NOT the refrigerated stuff) and I plan on making that homemade soon, too.
Think soy milk is the solution? Nope! This highly touted "health food" is actually a hormone disruptor with a slew of negative side effects. I ditched soy products years ago and if I have to eat something with soy in it (like soy sauce), I make absolutely sure it's organic so I can at least avoid GMOs. For more info, read 6 reasons soy is bad for you.
Seek out Vitamins Elsewhere
Here's my recommendation: make your non-dairy / dairy-free milk at home so you know exactly what's in it. THEN, if you want a specific vitamin and can't find an alternative food source that contains it, buy it from a reputable company. Better yet, a highly rated & completely transparent company that will provide lab testing! (My favorite source right now for whole foods based supplements & superfoods is Perfect Supplements.) If you're going to consume vitamins, make sure they're the best quality you can find, not sub-par versions thrown into mass produced nut milk products by some food company.
Bonus: If you want to place an order with Perfect Supplements (they sell all sorts of awesome stuff--even plant based protein powder), I have a coupon code just for my readers! Enter RISING10 at checkout for 10% off your total. :)
Tasting the Difference: Homemade Almond Milk is Better!
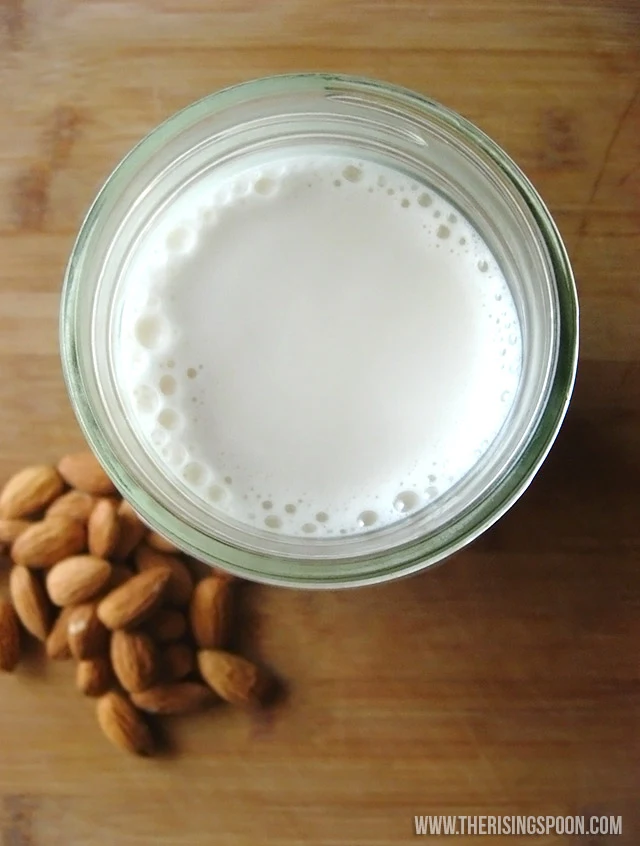
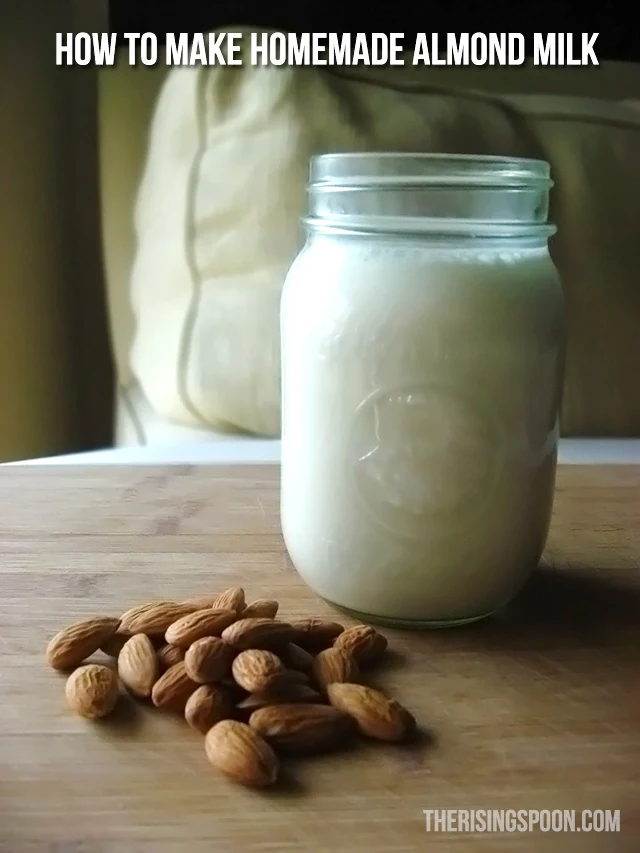
All other points aside, homemade nut milk tastes FABULOUS. I gulped down a glass full with no sweetener or flavoring added. It was creamy, refreshing and tasted nuttier than the store-bought versions. The second go around, I stirred in a teaspoon or so of raw honey and a smidgen of vanilla extract. Wowzers! I know what I'm using for my homemade pumpkin spice latte or homemade hot cocoa next time!
EDIT: Want to know what to do with the wet pulp after straining the almond milk? Don't toss it! Check out my post on what to do with leftover almond pulp for instructions on drying it plus recipe ideas.
Homemade Almond Milk Recipe
A super simple almond milk recipe using only water and a blender! Homemade tastes far better than store-bought non-dairy almond milk and there are no additives or preservatives!
Slightly adapted from Nature's Nurture Homemade Almond Milk
Yield: 2 cups of almond milk + 2 cups of almond pulp
Ingredients
2 cups of raw almonds (try to seek out organic, if possible)
4 cups of purified water (I recommend reverse osmosis)
Recommended Equipment
blender (this is the one I'm saving up for)
Want more real food & gadget recommendations? Check out my shop page.
Directions
Measure out the almonds into a medium sized bowl and add enough purified water so that the almonds are completely submerged. Let them soak overnight. I've heard that you can soak them for less time, but I haven't tried this yet.
Once they've soaked, drain the almonds and rinse once with purified water. Add the soaked almonds and 4 cups of fresh purified water to a blender. Blend for a minute or so. There will be an inch or two of froth at the top of the almond milk. That's normal.
Place a colander or fine sieve over a large bowl and line with either a nut milk bag or 2-3 layers of cheesecloth. Slowly pour the almond milk into the bowl. At this point, you'll probably only be able to process about half the batch at a time. You can either wait for the liquid to drain naturally or if you're like me, you'll gather the nut bag or cheesecloth in your hands and hurry it through by squeezing.
If you're using cheesecloth, which is less durable, be careful about squeezing too roughly. Some of the almond pulp might push through. Once you've squeezed the liquid out, remove the pulp and set it aside. Repeat until all of the almond milk is strained. Save the pulp in the fridge for a day or two to use in other recipes or freeze immediately. Alternately, you can dry it in the oven at a low temperature so it will keep longer. (Click here for the tutorial)
From here you can sweeten the almond milk to taste with raw honey, maple syrup, sugar, dates, etc. or add flavorings like homemade vanilla extract or raw cacao powder.
I recommend using the milk within 3-4 days for best taste, but it may last longer than that.
Notes & Tips
- After a few hours sitting in the fridge, the almond milk will separate and the heavier parts will sink to the bottom. This happens naturally because there are no additives or emulsifiers added. Simply shake your container a few times before using. :)
- If you have leftovers after a few days, freeze the almond milk in an ice cube tray and add them to smoothies!
- If you want a creamier almond milk, try adding less water. For a thinner milk, add more water. Play with the ratio until it's right for you.
I'd like to hear from YOU!
Have you ever made your own nut milk at home? What's your favorite way to use it in a recipe?
Don't miss a post! Want my real food recipes, kitchen tutorials, DIY crafts, and healthy living articles delivered straight to your inbox? Click here to sign up for free email updates!
P.S. Keep Reading! More Recipes From The Rising Spoon:
PAID ENDORSEMENT DISCLOSURE: In order for me to support my blogging activities, I may receive monetary compensation or other types of remuneration for my endorsement, recommendation, testimonial and/or link to any products or services from this blog. However, I ONLY recommend helpful products that I myself would use. And I'm really picky about what I share with you guys. Because I myself am super choosy about what I buy and consume. Recommending products that I love or want to own helps me cover the costs of running this blog and keep providing you with free, helpful information. And it costs nothing extra for you. Thanks!


No comments
Post a Comment
Note: Only a member of this blog may post a comment.